Every file in Figma has a thumbnail that shows you a preview of the file's contents.
By default Figma will display the contents of the first page in your file as the preview thumbnail but that doesn't provide a lot of information about the file's contents.
Setting a custom thumbnail is a great way to make the file more recognizable and communicate the file's contents.
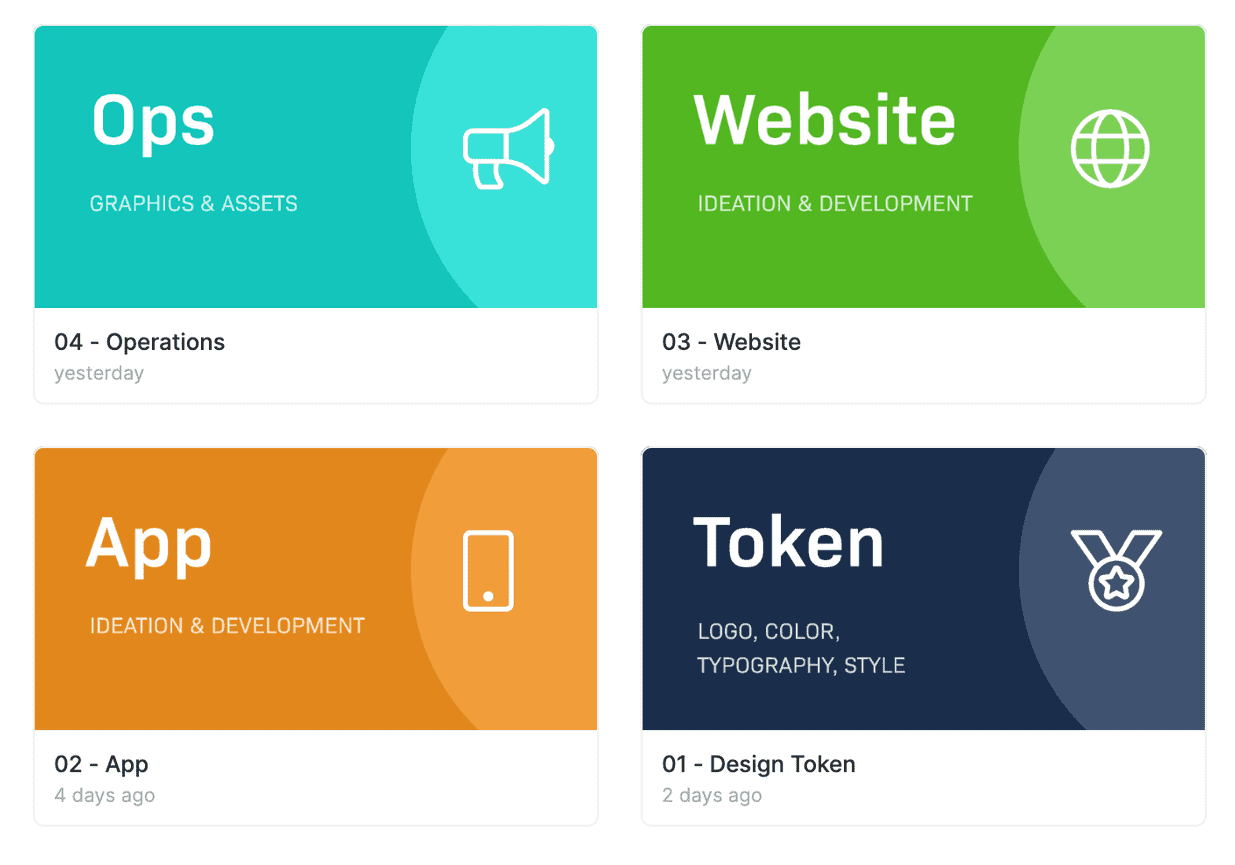
This makes it easier to find the correct files for yourself and your team or when you publish files to the Figma community.
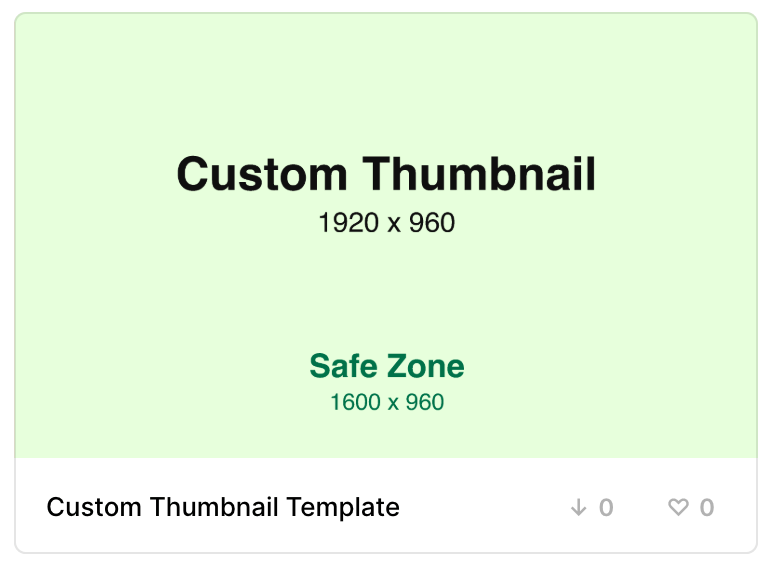
Custom Thumbnail Template
The recommended thumbnail dimensions are 1920 x 960 but in some situations the thumbnail is cropped. There is a 1600 x 960 “safe zone” which will always be displayed.
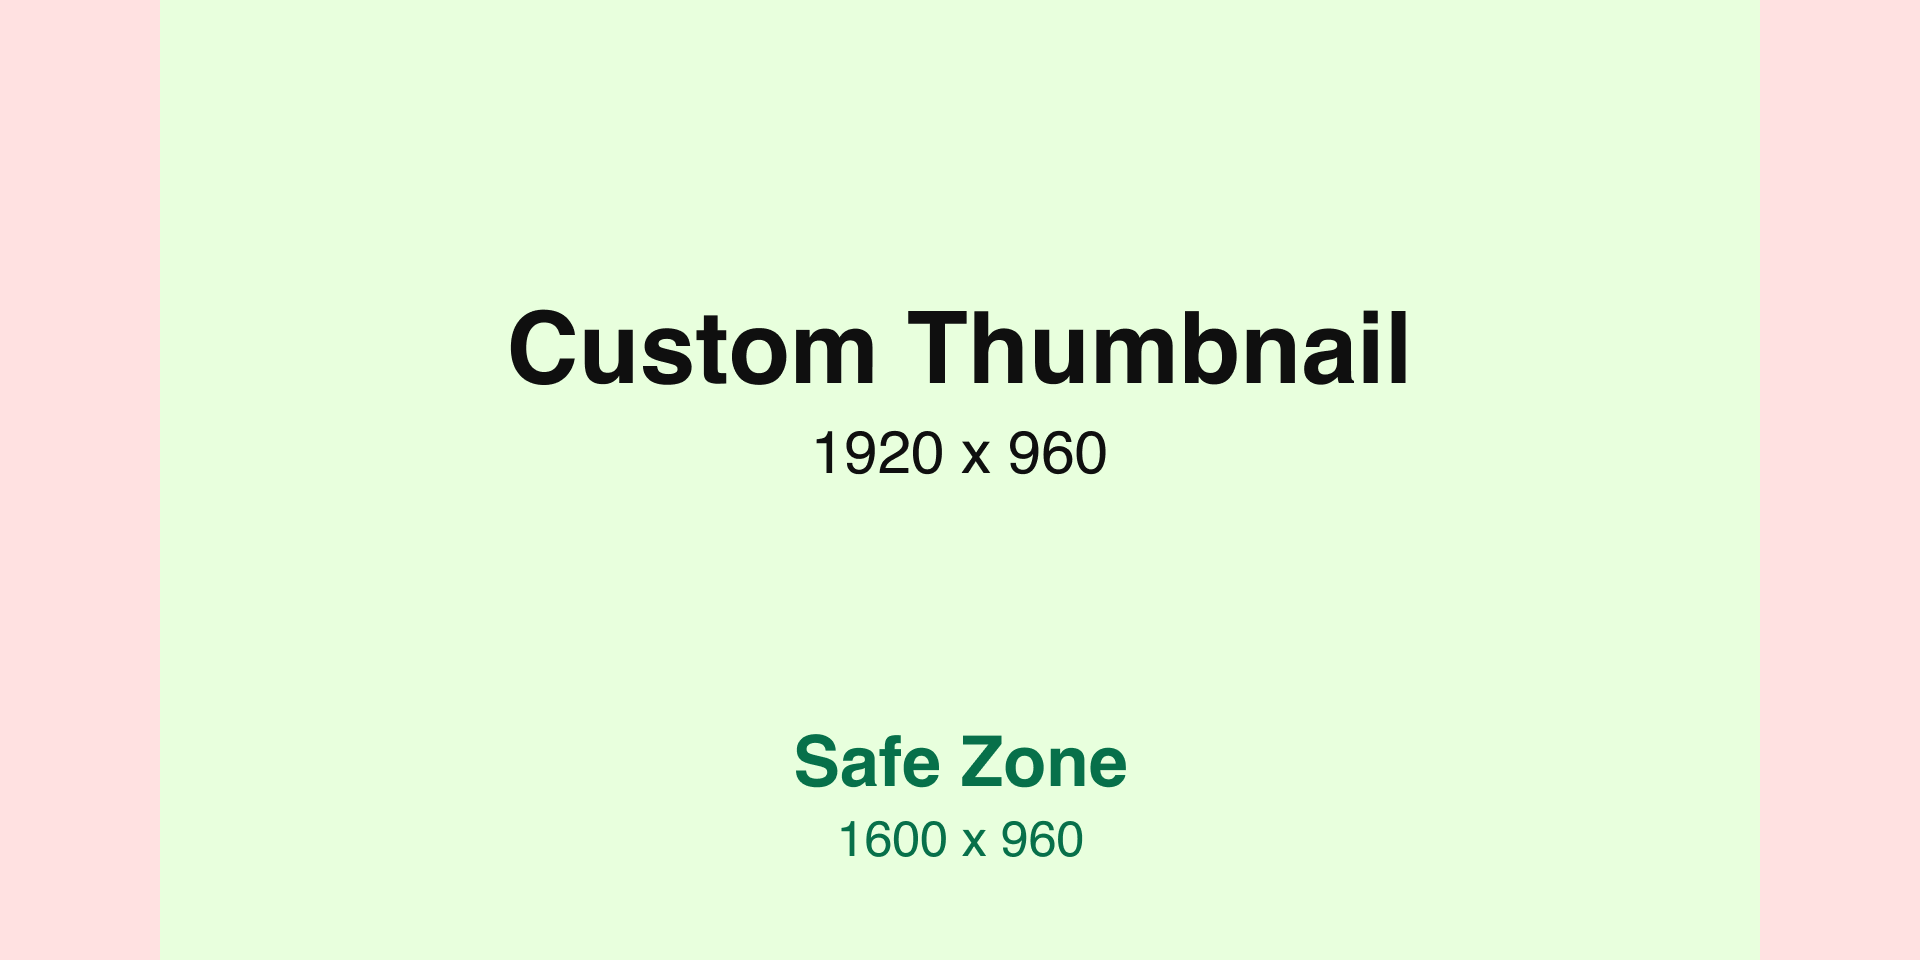
To make it easier to create a custom thumbnail with the right dimensions I created a template with the correct dimensions and guides for the "safe zone".
You can Download the template and use it in your own projects for free!
How to Set a Custom Thumbnail
Once you've created your custom thumbnail with the above dimensions or by using my template you need to tell Figma you want to use that frame as the file's thumbnail.
1. Right-click on the frame in the canvas to open the Context Menu.
2. Select Set as Thumbnail from the options:
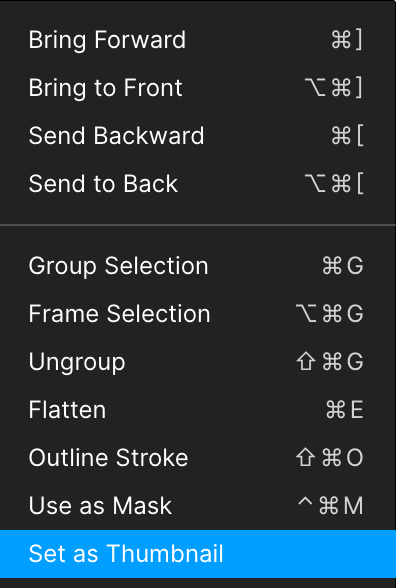
3. Figma will display the custom thumbnail icon next to your frame

Some people (including me) like to create a separate page for the custom thumbnail to keep it separate from the rest of the design.
It's not necessary as you can also put everything on a single page but having it on a separate pages makes your design files more organized.
End Result
How your custom thumbnail will be displayed varies on where you are viewing the file. Viewing the template file in my Recent Files tab shows the entire thumbnail.
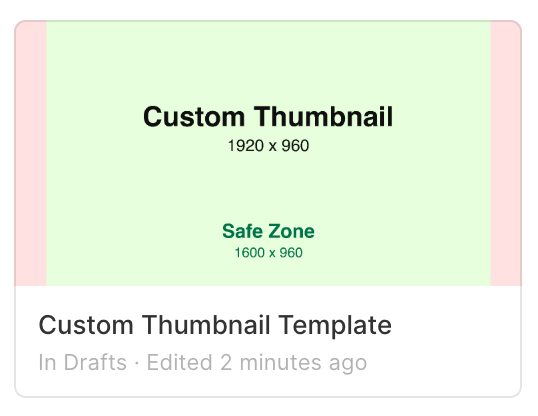
However, viewing the same file on my Figma profile displays a cropped thumbnail where only the safe zone is displayed.
That's why all the important information should be within the safe zone of the template so it's always displayed.
Get Creative
Enjoy creating custom thumbnails for your designs. They are a great way to make your files easier to find and communicate information about the page's content.
Some teams even use color-codes and labels in their custom thumbnails to display the status of their designs such as "in progress", "ready for testing", or "awaiting review".